Automate React Component Smoke Testing with Storybook
Discover how to use Storybook to automate smoke testing for your React components, eliminating the need for manual testing and streamlining your development process.
Smoke testing is a technique used to verify that all features work or compile without generating errors. In web development, particularly with React, it can be employed to ensure that components render error-free.
You might have encountered such tests in commercial projects, with names like should not explode, should not throw error while rendering, or simply should render. While they may not provide significant value, and writing them can be frustrating, you can automate these tests using Storybook.
Storybook can automatically run smoke tests for all stories without any additional setup. However, this method only works with stories written in TypeScript (TS), TypeScript React (TSX), JavaScript (JS), or JavaScript React (JSX) file formats. Unfortunately, it does not support MDX stories.
Follow these steps to automate smoke testing with Storybook:
- Install the @storybook/test-runner library: Run the following command to add it to your project:
yarn add -D @storybook/test-runner- Update your package.json scripts: Add the following line to the "scripts" section of your
package.json:
"test-storybook": "test-storybook"Run your local instance of Storybook: Launch your Storybook server by running
yarn storybookornpm run storybookin your project directory.Run smoke tests with Storybook: Execute the smoke tests by running
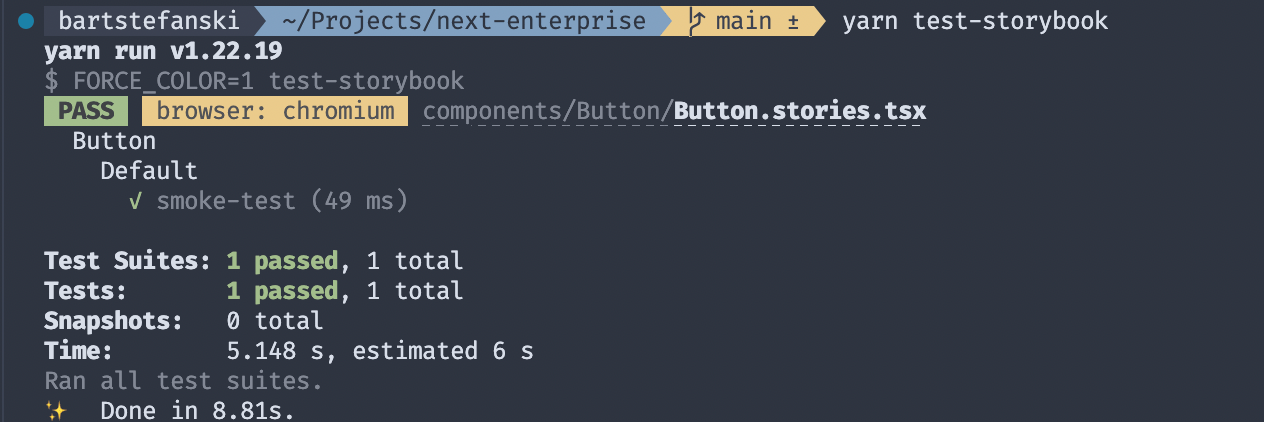
yarn test-storybook. If everything works as expected, you'll see all your stories pass the smoke tests.

By leveraging Storybook, you can easily automate smoke testing for your React components, simplifying your development process and avoiding the hassle of writing manual tests.
Published on April 24, 2023 • 2 min read